


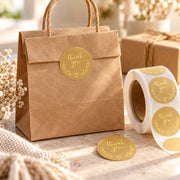
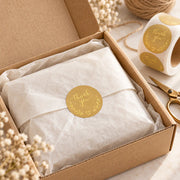


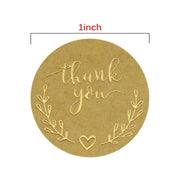
Gold Thank You Stickers – 1 Inch Round Sealing Labels for Small Business Packaging
Turnaround & Shipping
Proof: 1 business day after we receive your artwork and order details.
Production: 2–4 business days after you approve your proof.
Shipping: Standard: 10–14 business days, or Expedited: 3–7 business days after dispatch.
Revisions can extend the proof stage. Business days exclude weekends and holidays.
Rush Upgrade Option
Speed up your order with a Rush Upgrade! Contact our support team to prioritize your order and get it delivered even faster.
Availability, any extra cost and the revised timeline will be confirmed before you upgrade.
On-Time Delivery Promise
We’re committed to delivering your order within the promised timeline—or we’ll make it right with a free remake or expedited shipping on us.
For the things you make with care.
A coffee to go. A gift chosen for someone. A small detail on the outside can feel personal, too.


Ink pad included with your stamp
A little ink. Your own personal touch.
From your first impression to your next batch of packaging, here’s how to get started.
-

Ink your stamp
Press the stamp gently onto the included ink pad to coat the raised design evenly. Make a test impression on spare paper first.
-

Press onto your bag
Lay your bag flat on a firm, level surface. Hold the wooden handle and press evenly, supporting the base as needed. Keep the stamp still.
-
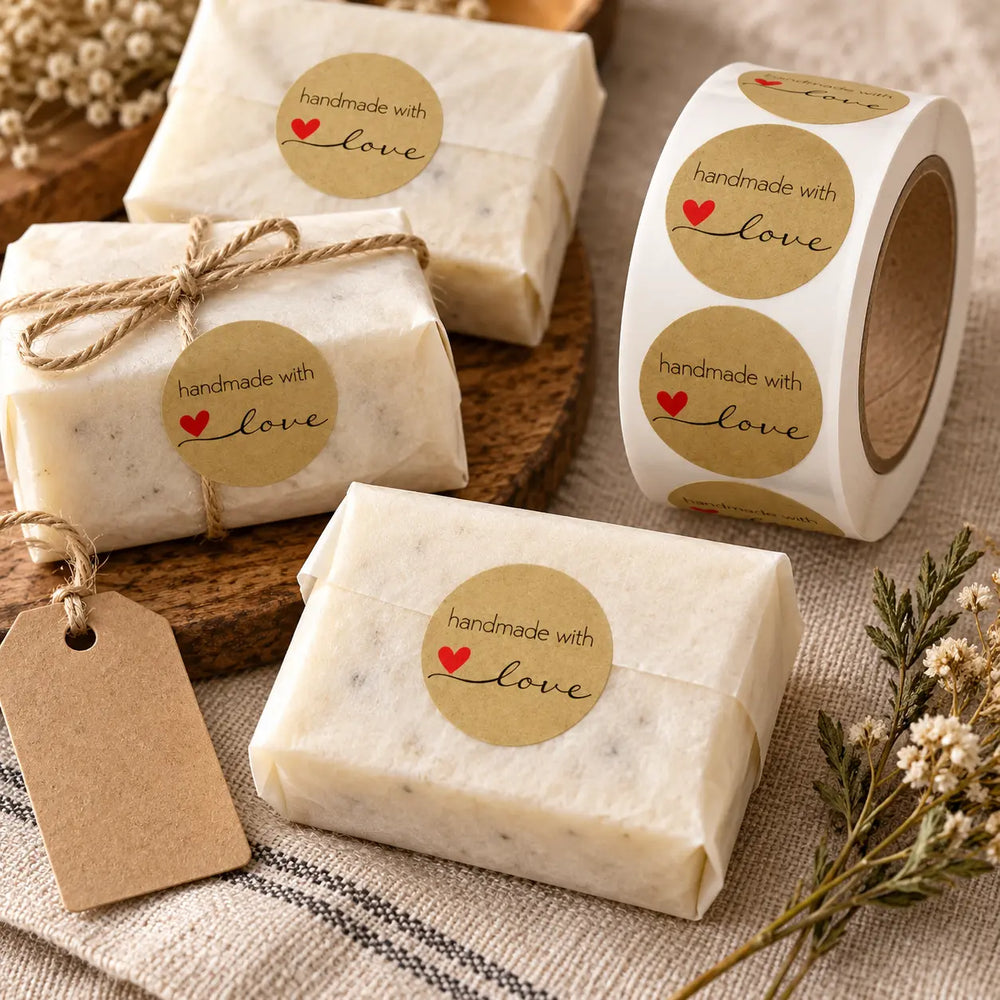
Lift to reveal
Lift the stamp straight up to reveal your design. Let the ink dry before handling or stacking your bags.

Illustrative guide. Example artwork shown; your stamp is made with your logo.
How to Order Your Custom Stamp
From your logo to your doorstep in 5 easy steps.
Digital proof within 1 business day after ordering.
Production begins after your approval.
A few helpful details.
Will my stamp have the logo in these photos?
No. These photos show design examples. Upload your own logo or artwork and we will use that for your custom stamp.
What file should I upload?
A clear PNG, JPG or PDF file up to 10 MB. Add any specific requirements in the notes beside the upload field.
Are bags, boxes or other props included?
No. These items illustrate how a logo could look on packaging. They are not included with the custom stamp.